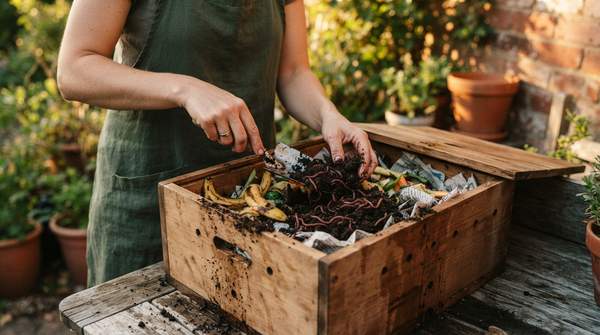
Vermicomposting offers a simple and efficient way to transform kitchen scraps into a nutrient-rich soil conditioner right in your home. This method of composting uses worms to break down organic waste, requiring little space and inexpensive materials. With a suitable container, the right kind of worms, and proper bedding, you can create a self-contained ecosystem that recycles food waste and produces valuable compost for your plants, whether indoors or out.
Getting Started: Essential Components of Your Vermicomposting System
A successful home vermicomposting system relies on four fundamental components: a container, bedding, worms, and a steady supply of food scraps. According to guidance from the University of Maryland Extension, these elements work together to create a balanced environment where worms can thrive and efficiently digest organic material. The end product, known as vermicompost, is a dark, crumbly substance containing worm castings and decomposed matter that serves as an excellent source of plant nutrients.
The most crucial inhabitants of your bin are the worms themselves. The University of Maryland Extension identifies redworms, also called red wigglers or manure worms, as the ideal species for this task. These worms are surface feeders that naturally consume decaying plant and animal matter, making them perfectly suited for life in a compost bin rather than in garden soil. Urban Worm Company suggests starting a new bin with one to two pounds of red wigglers.
The container, or worm bin, provides the physical structure for your composting operation. The Rodale Institute notes that bins can be constructed from various materials, including plastic, wood, or even Styrofoam, which offers the added benefit of insulation. While smaller bins are suitable for beginners, a larger container—typically around 18 inches wide, 24 inches long, and 18 inches deep—can accommodate a more substantial worm population as your system matures.
Step-by-Step Setup: Building Your Worm Bin
Assembling your first worm bin is a straightforward process. Once you have selected a container, the next step is to prepare the bedding, which will serve as the initial habitat and a food source for your worms. This material should be moistened before the worms are introduced. A helpful practice recommended by Red Worm Composting is to mix the bedding with a small amount of moist food waste and let it sit in the closed bin for about a week before adding the worms. This pre-conditioning period helps establish a beneficial microbial community and ensures moisture is evenly distributed, creating a welcoming environment for the worms.
When the bedding is ready, you can introduce the redworms. Gently place them on top of the bedding, and they will naturally burrow down to escape the light. Give them a few days to acclimate to their new home before you begin a regular feeding schedule. The initial food mixed into the bedding will provide them with enough sustenance as they settle in.
Proper ventilation is also important for a healthy bin. The Rodale Institute advises that bins should be well-ventilated, with numerous holes on the bottom and along the sides. The U.S. Environmental Protection Agency (EPA) adds that any holes or gaps should not be larger than a quarter of an inch to prevent worms from escaping while still allowing for air circulation.